I thought that it would be fun to do some flour/water resist and painting. So here we go. An empty bench, and I'm going to be away for a couple of days.
I spread out my fabric on some plastic,
mix up some flour and water to a stiff paste and spread it over the fabric with a spatula,
draw a pattern - I used a teaspoon, because I really hate the slimy feel of the flour/water mix, then leave it to dry for a couple of days - well, the weather has been winter wet, so some things just take longer to dry!
So, a few days later, there is a window of opportunity with a bit of afternoon sun. Outside with the fabric and paint (I used textile ink). I encouraged some cracking by using a rolling pin and pulling on the edges of the fabric before painting. Once dry, it needed to be heat set - mmm! best way of doing that? I lay this piece upside down on a bath mat on the bathroom floor and used a hairdryer, then the iron! I then pulled off as much of the dry 'dough' as I could before washing it - this actually took a couple of goes, because the flour seemed to be quite sticky.
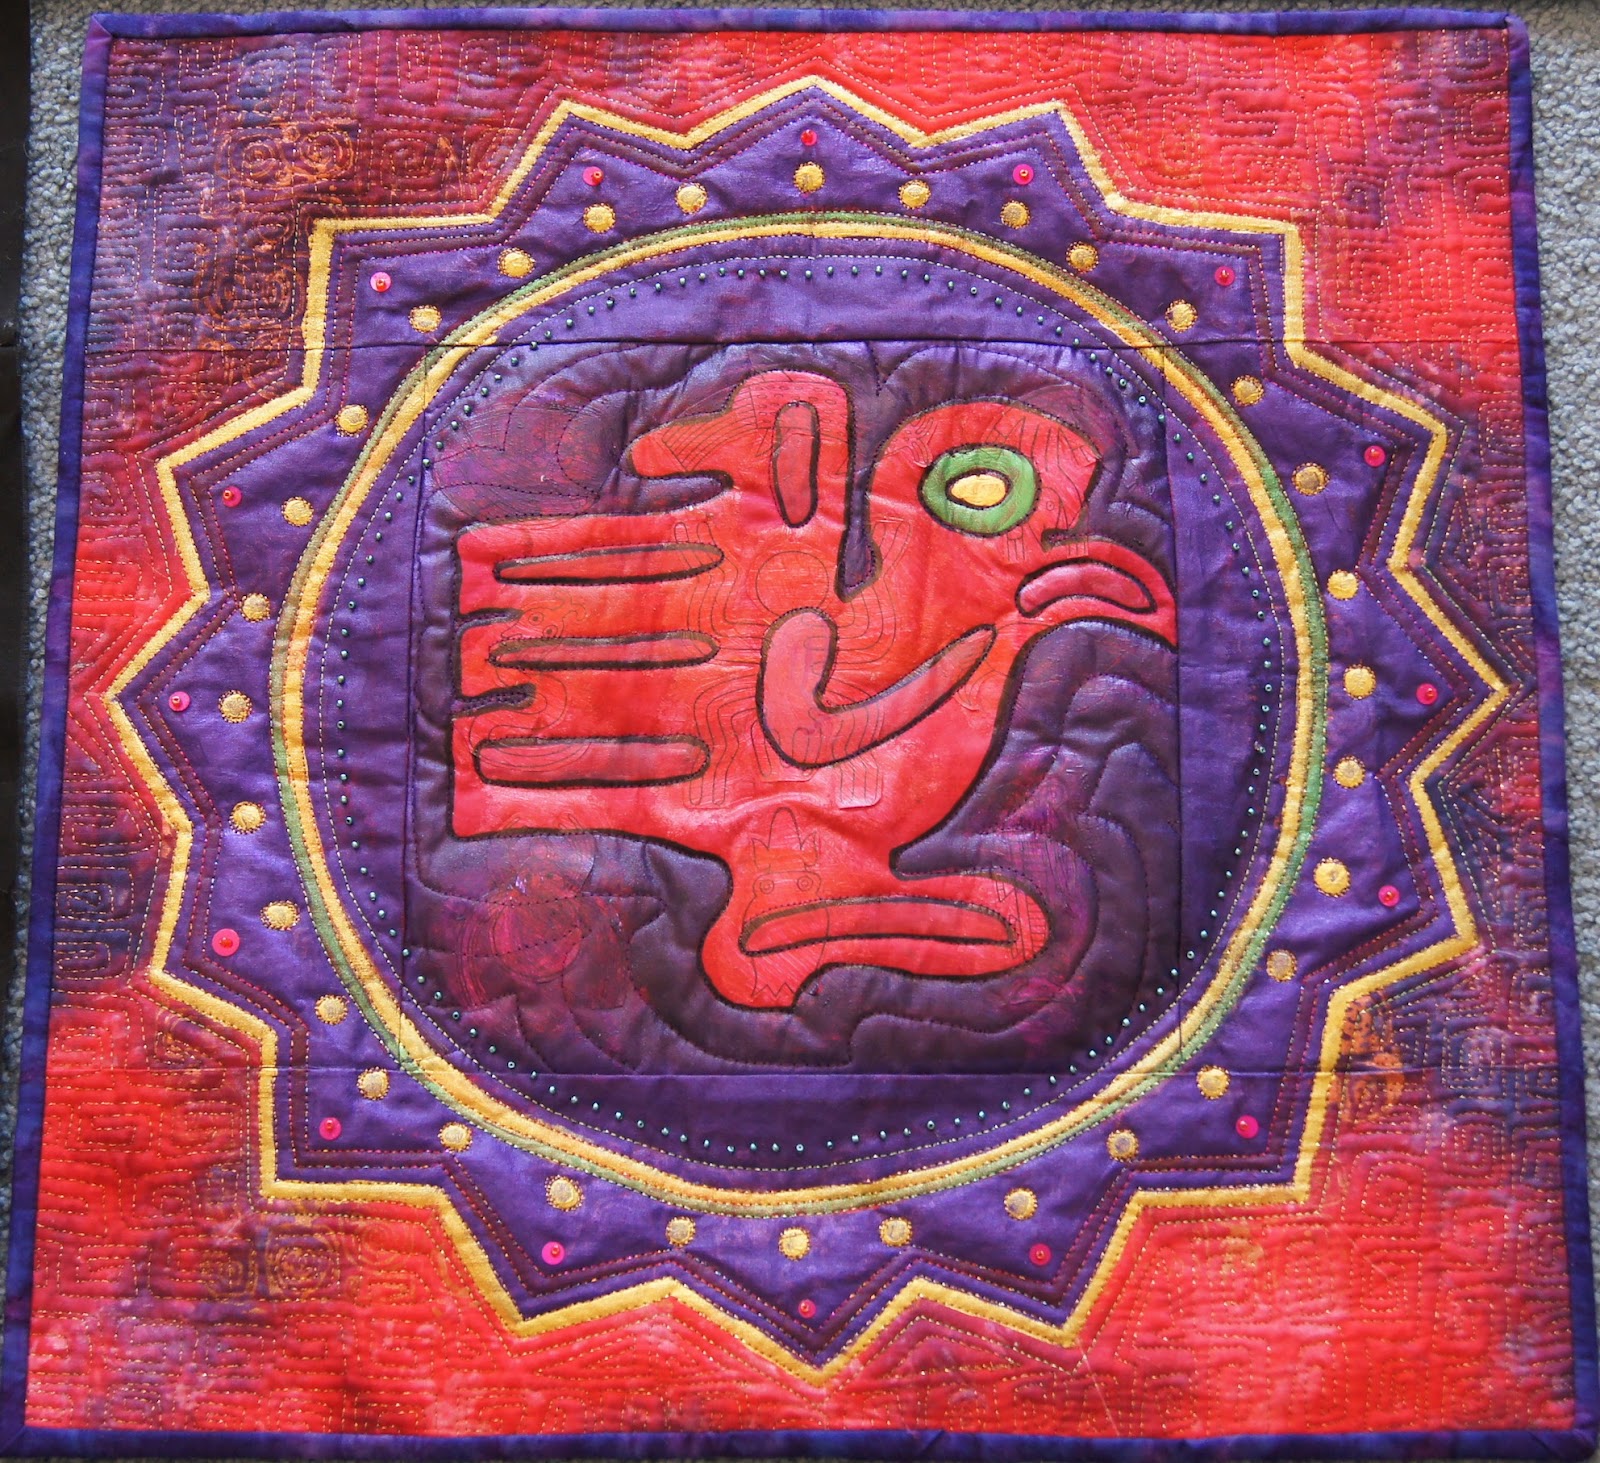
Anyway, this is the end result - the design doesn't show as much as I hoped, but I do like the crackle effect, and I can work with this.